
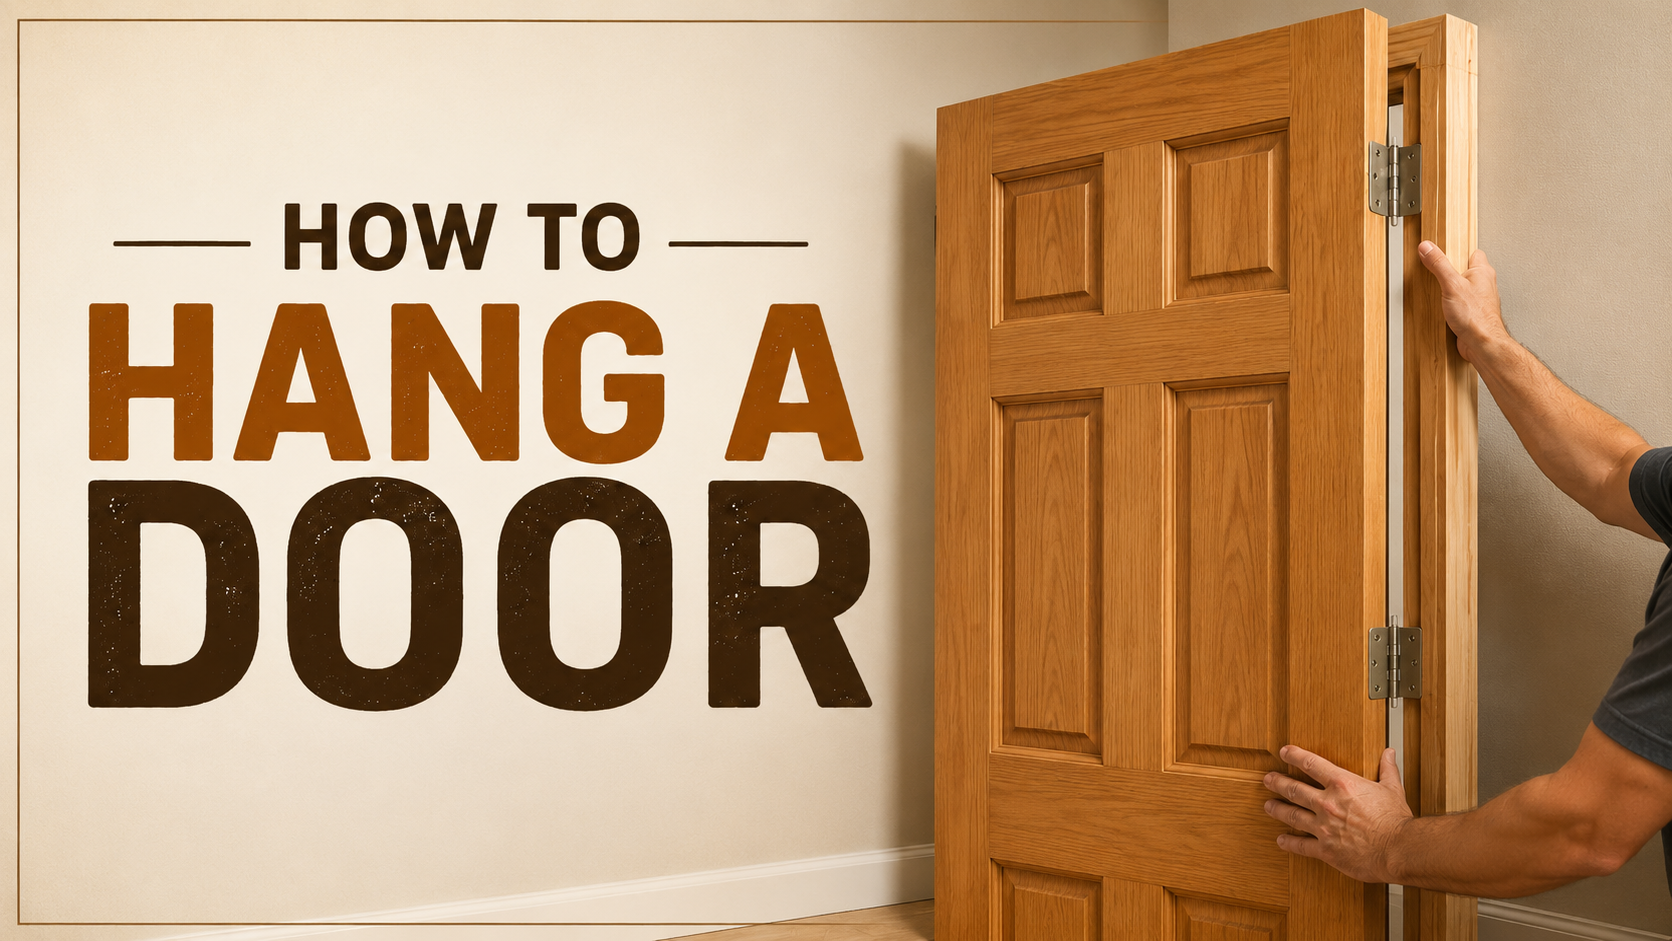

How to hang a door correctly
Hanging a door properly is essential for smooth operation, correct alignment and a professional finish. A poorly fitted door may rub against the frame, swing on its own, fail to close correctly or place unnecessary strain on the hinges.
The following guide explains the basic steps involved in hanging a wooden door and should be used as a general installation guideline.
1. Check and Measure the Door Opening
Before trimming or marking the door, check whether the door frame opening is square.
Measure the door against the frame to determine how much material, if any, needs to be removed.
As a general guideline, allow approximately:
- 5 mm clearance at the bottom of the door
- 3 mm clearance along the top and sides
If the door needs to be reduced in size, remove material as evenly as possible.
As a general rule, avoid removing excessive material from one side only. Where trimming is required, distribute it between both sides and, where applicable, between the top and bottom of the door.
2. Check the Hinge Positions
If hinges have not already been fitted to the door frame, they should first be positioned correctly.
A useful starting point is approximately 180 mm from the top and 180 mm from the bottom of the door frame, although hinge placement may vary depending on the size, weight and type of door being installed.
Heavier or larger doors may also require an additional centre hinge.
3. Position the Door in the Frame
Place the trimmed door into the opening and wedge it securely into the correct position.
Make sure the clearance around the door is reasonably even and that the door is correctly aligned within the frame before marking the hinge positions.
4. Mark the Hinges on the Door
With the door positioned correctly, transfer the hinge positions from the frame onto the edge of the door.
Remove the door and extend the hinge markings across the door edge so that the hinge recesses can be accurately prepared.
5. Score the Hinge Outlines
Use a sharp chisel or suitable marking tool to carefully score around the hinge outlines.
Accurate marking at this stage helps ensure that the hinges sit neatly and securely once installed.
6. Cut the Hinge Recesses
Carefully cut a recess into both the door and the frame so that the hinge leaf sits flush with the timber surface.
Mark and drill the screw holes before fixing the hinges into position.
Take care not to make the recess unnecessarily deep, as this can affect the alignment of the door.
7. Check the Hinge Depth and Alignment
The hinge recess on the frame may need to be slightly adjusted so that the hinge does not bind when the door closes.
The hinge knuckle should project correctly from the frame and door edge, with both hinge leaves sitting at a consistent depth.
For best results, use a marking gauge or another accurate measuring method to ensure that each hinge is fitted at the same depth.
Correct hinge alignment is extremely important. If the hinges are not positioned evenly, the door may:
- Swing open or closed on its own
- Bind against the frame
- Become difficult to close
- Place unnecessary strain on the hinges
- Sit unevenly within the opening
Before tightening all screws fully, test the door to make sure it opens and closes freely.
8. Secure the Hinges
Once the hinges are correctly positioned and the door operates smoothly, tighten the hinge screws securely.
Check the door again after tightening to make sure the alignment has not changed.
Take Your Time During Installation
Proper door installation requires accurate measuring, careful trimming and correct hinge positioning.
Do not rush the process. A few extra minutes spent checking clearances and hinge alignment can make a big difference to how well the door performs after installation.
Where you are unsure, it is always advisable to use an experienced carpenter, joiner or door installer.